
New to model kits?
Try these kits, no tools!
Try these kits that require no tools!

So you’re either reading this because you have just bought a Gundam, are thinking of buying a Gundam kit or you have built a few and wanna see my approach.
Either way my goal is to help make your build experience easier and hopefully help you avoid making the same mistakes I did back when I started this hobby.
Gundam kits do have different grades. These grades mostly speak of the technical quality of the kit more than the difficulty of the build.
It is however worth noting that RG (Real Grade), MG (Master Grade) and PG (Perfect Grade) do require some experience to really enjoy the process, as these Grades aren’t really catered for a first time model builder.
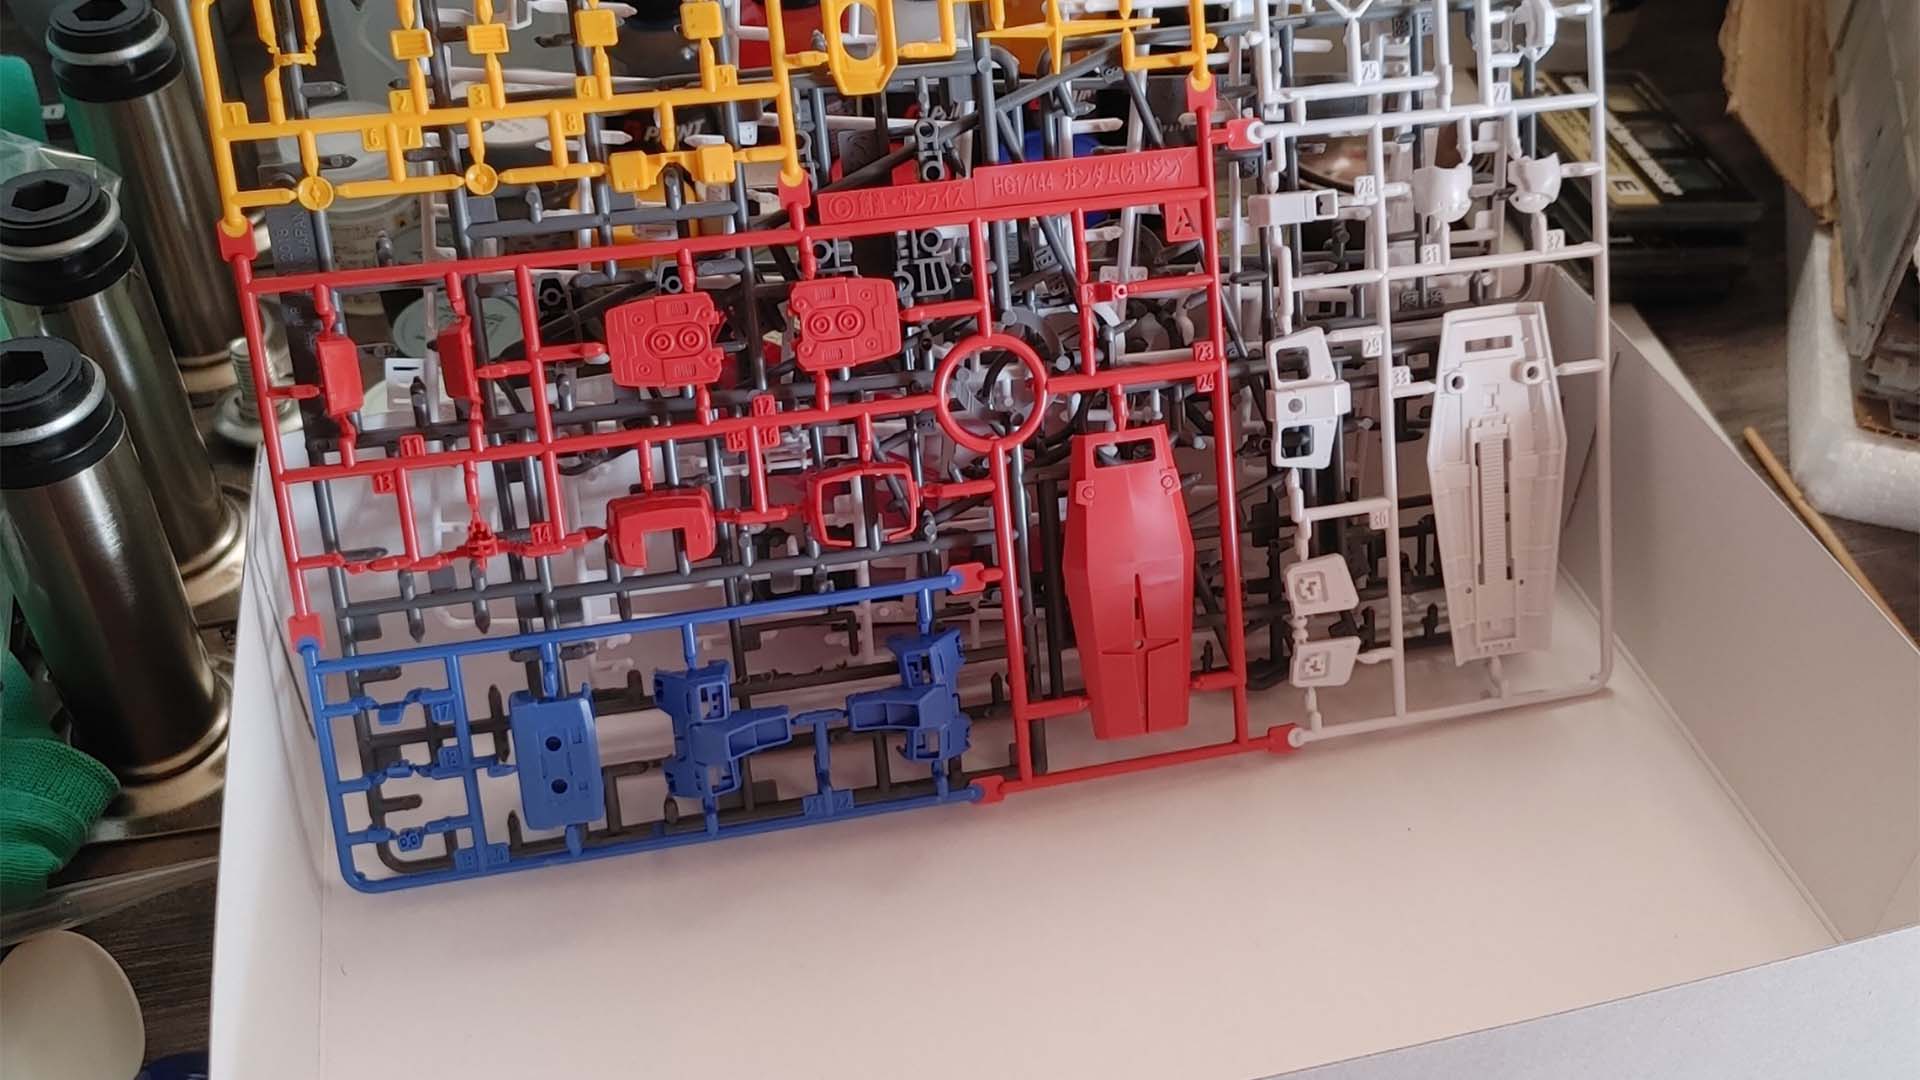
This is a HG kit. 


Grab some model nippers. Considering that as a beginner this is the only tool you’ll need to build Gundam kits I would like to suggest you get a pair of nippers.
The Entry Nippers by BANDAI are perfect for beginners.
Pro tip: Super cheap nippers won’t cut it (pun intended) They are often misaligned and aren't always the sharpest or most durable. I use These Tamiya nippers and have had this pair for almost 11 years and they’ve served me well.
I wish when I started out I had access to the Entry Nippers from BANDAI because they are awesome.
I'm sure you may have guessed that you have to use your nippers to remove the parts from the runners. There are many ways to do this but this is my advice for beginners.
The 4 cut method!
Always Look before you CUT, and if you’re unsure, check the manual over and over again until you are sure. 
Also
PLEASE DON'T CUT CLOSE TO THE PART TO REMOVE IT FROM THE SPRUE.
You run the risk of hurting the part or worse cutting off an important connection or detail on the part. You have been warned. :P
1ST Cut: Cut these guys first.

2ND Cut: then cut closer to the part leaving some plastic parts (nubs)

3RD Cut: use your nippers to remove the sprue nubs. 
4TH Cut: sometimes a part can be tricky and so it’s safer for you and your kit to use 2 cuts to remove a nub.
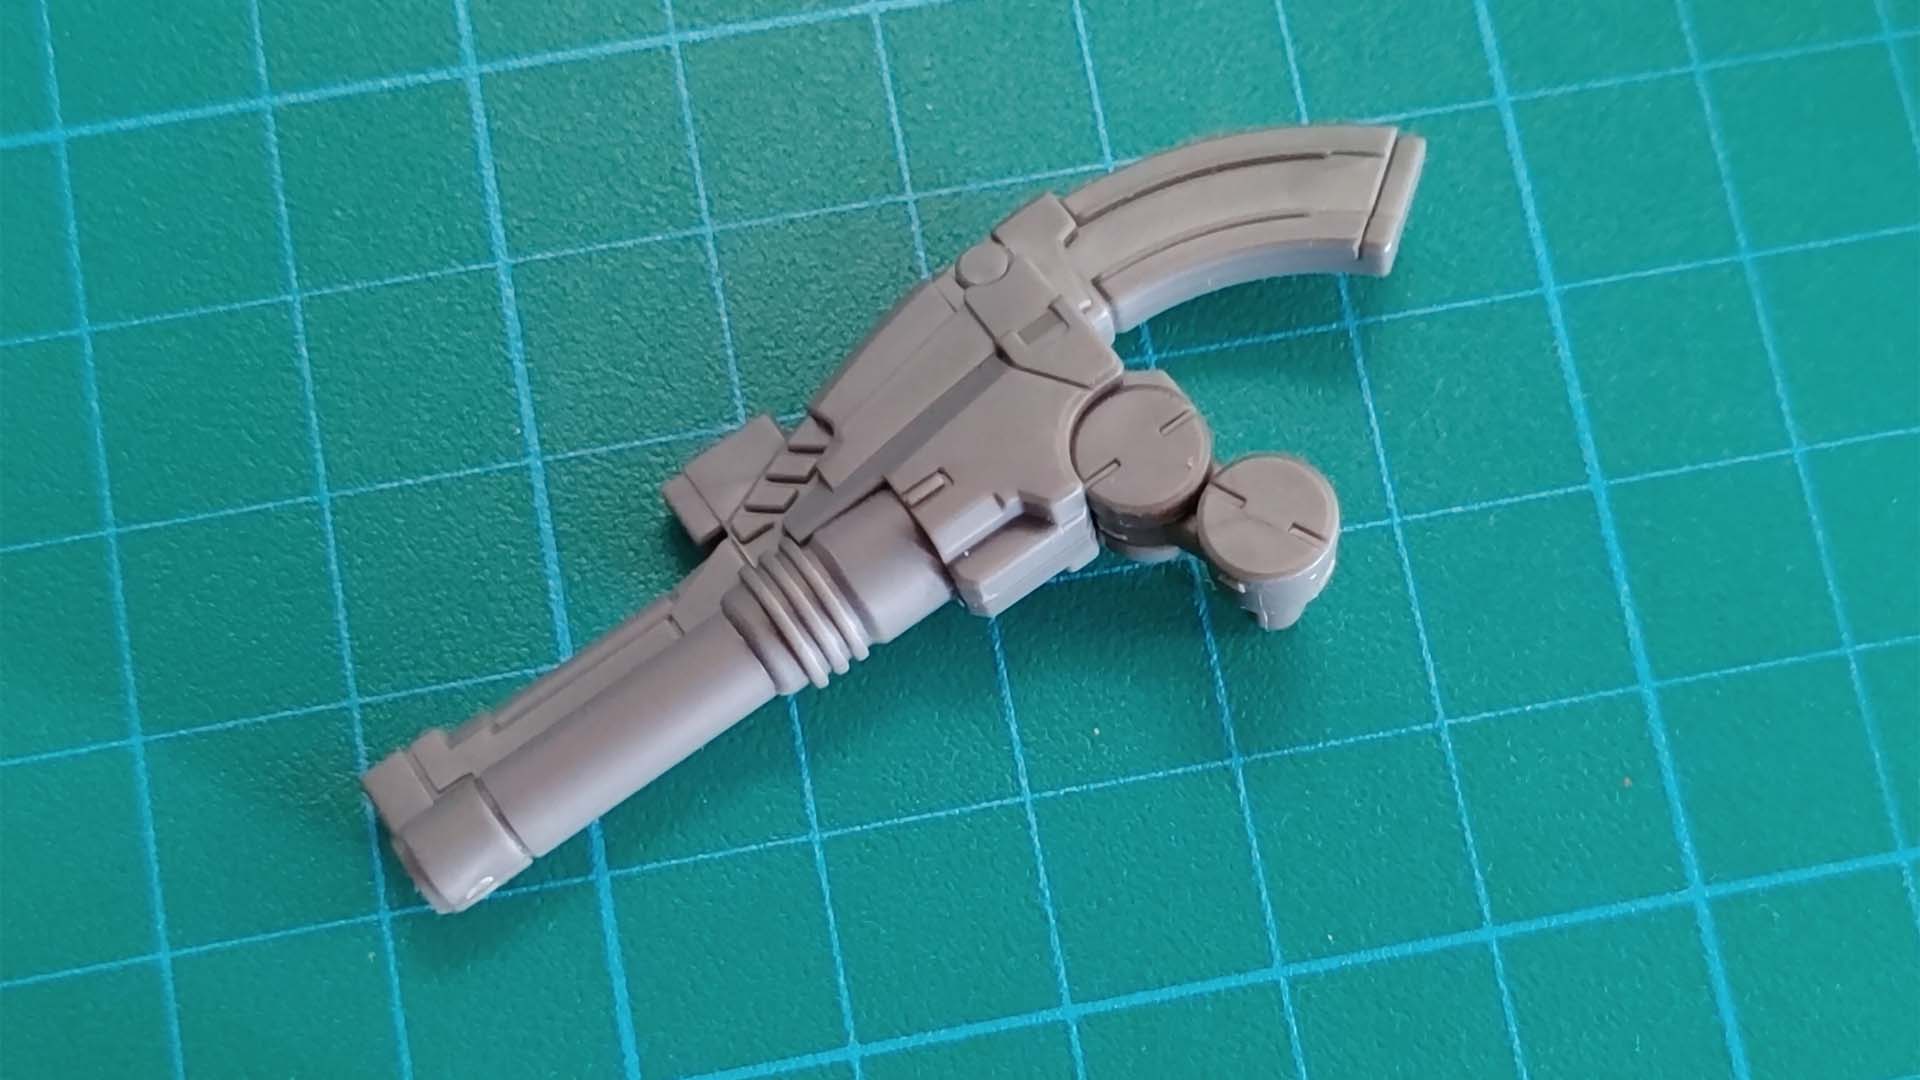
What it should look like 
Pro tip: Take your time here and make sure you know the difference between what you need to cut off and what is part of the kit.
It can be even better than this. I'll cover how in the advanced section.
Hint: it requires a modelers knife and a nail buffer.
Check list


Enjoy the process, have fun and be patient. You don't have to build the kit in 5 minutes.
Take your time and do it right and you will have an awesome out of box build that s now a cool figure to pose and play with. 
Next Blog will be advanced tips for those that want to take their building skills further.
AKA taking things to the next level. Are you ready?
Please show off your kits on social media and tag us!
Instagram: @gunpla_sa
Facebook: @gunplasouthafrica
As always guys. Keep Building Joy. See you on the next build
- Paul Loubser of GUNPLA SA


Leave a comment